OpenStack Installation
OpenStack安装与部署
按照官网的安装教程安装:ubuntu openstack install。
选择Single-node OpenStack deployment
MicroStack ‐ OpenStack in a snap, MicroStack is a pure upstream OpenStack distribution designed for small scale and edge deployments, that can be installed and maintained with a minimal effort.
首先安装MicroStack
1 | |
可以看到安装成功,如图
然后进行Initialisation
The initialisation step automatically deploys, configures, and starts OpenStack services. In particular, it will create the database, networks, an image, several flavors, and ICMP/SSH security groups.
1 | |
可以看到初始化完成,如图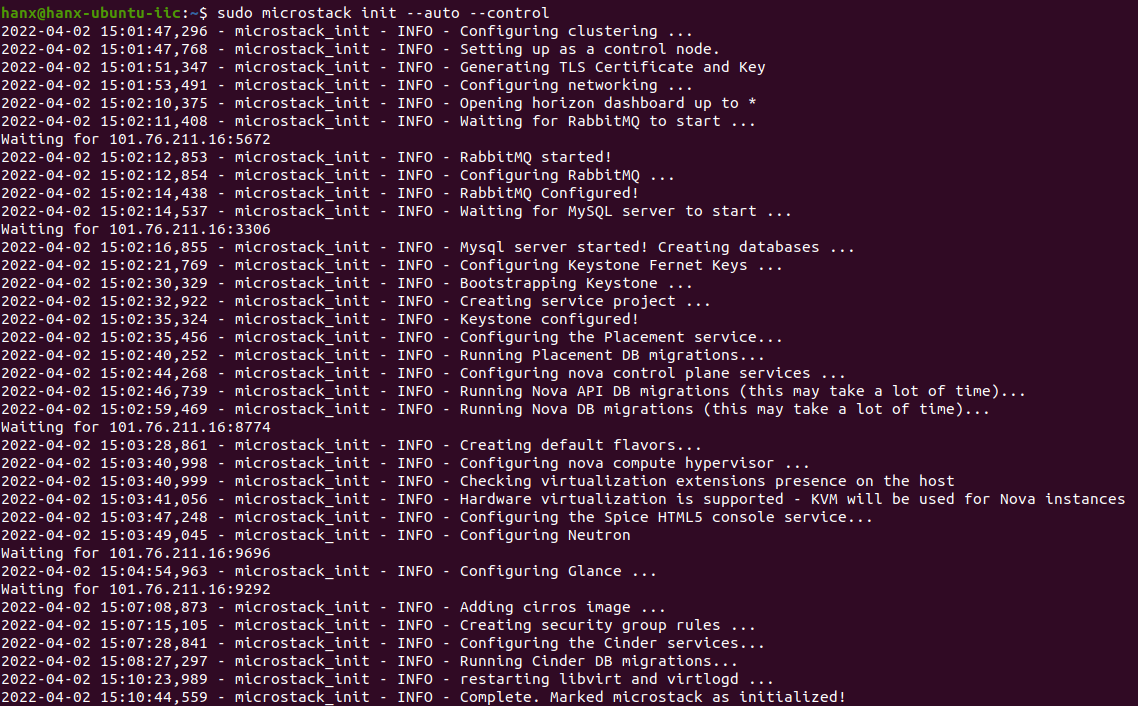
然后验证OpenStack
The purpose of the verification step is to confirm that the cloud is in working order and to discover some of the defaults used by MicroStack. Verification will consist of the following actions:
- perform various OpenStack queries
- create an instance
- connect to the instance over SSH
- access the cloud dashboard
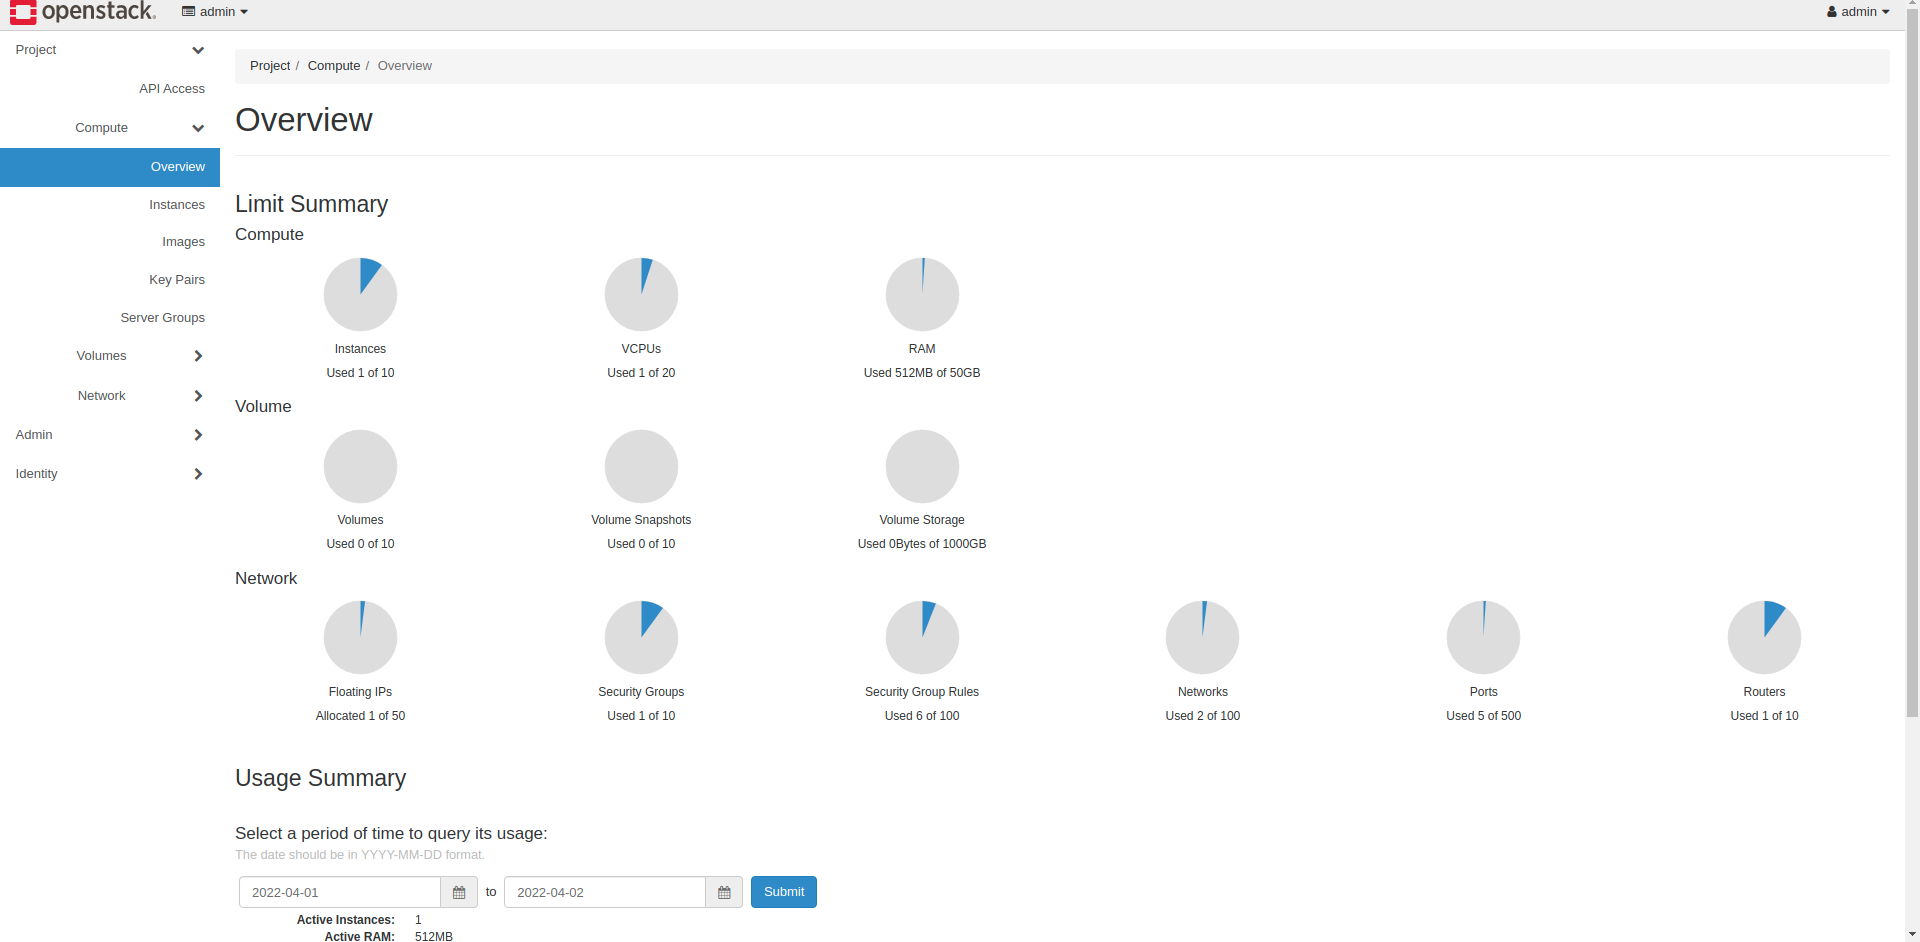
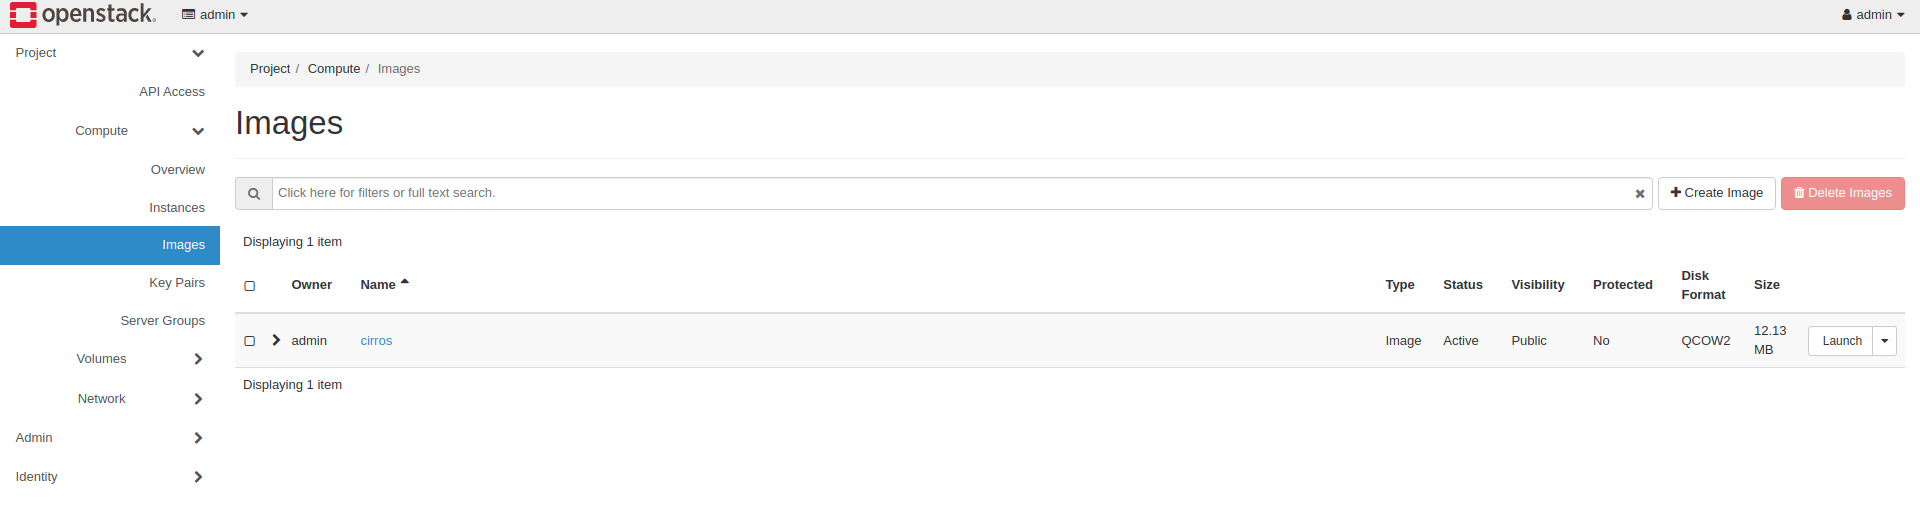
首先查看一下信息,如图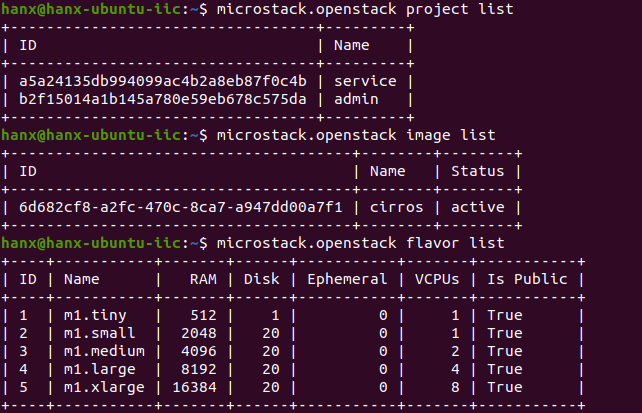
可以看到现有的project,image和flavor
然后创建一个实例
Create an instance
MicroStack comes with a convenient instance creation command called microstack launch. It uses the following defaults for its instances:
- keypair ‘microstack’
- flavor ‘m1.tiny’
- floating IP address on subnet
基于cirros镜像创建一个名为cc的实例:1
microstack launch cirros -n cc
查看实例,如图: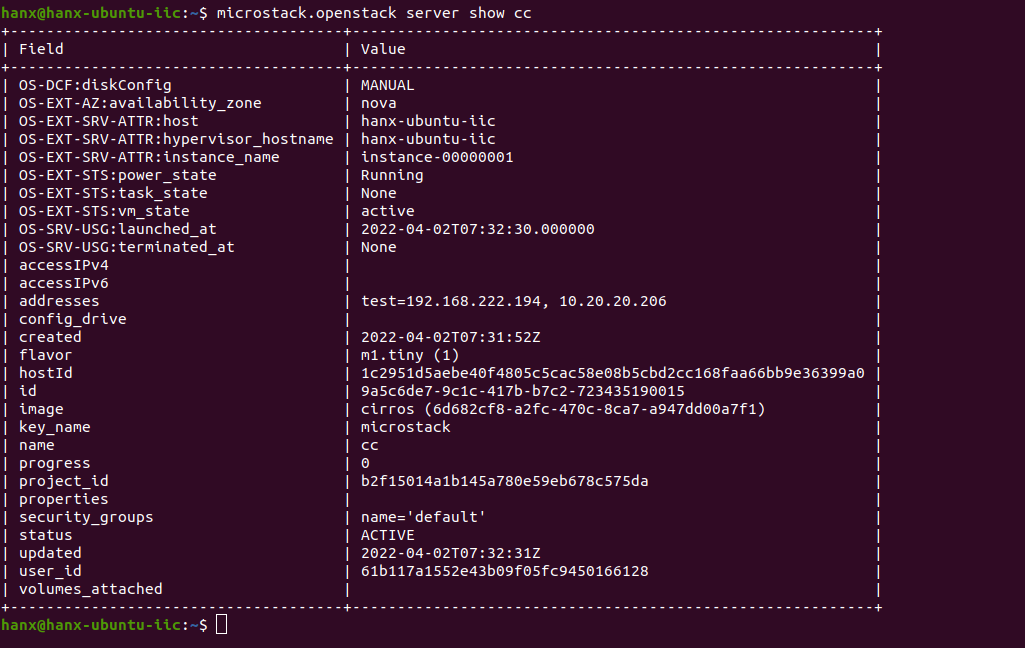
Note:
The launch command can be replaced with the traditional microstack.openstack server create command.
最后连接实例
Connect to the instance
Output from the microstack launch command includes all the information needed to connect to the instance over SSH,如图: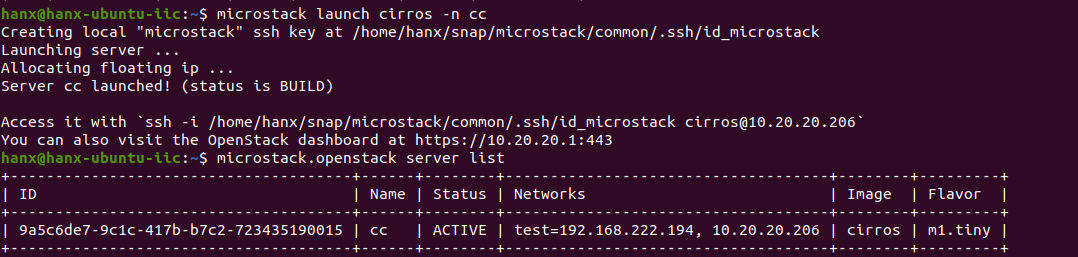
Access the cloud dashboard
You can log in to the web UI by pointing your browser to the following URL:
The username is ‘admin’ and the password is obtained in this way:1
sudo snap get microstack config.credentials.keystone-password
ssh连接,如图: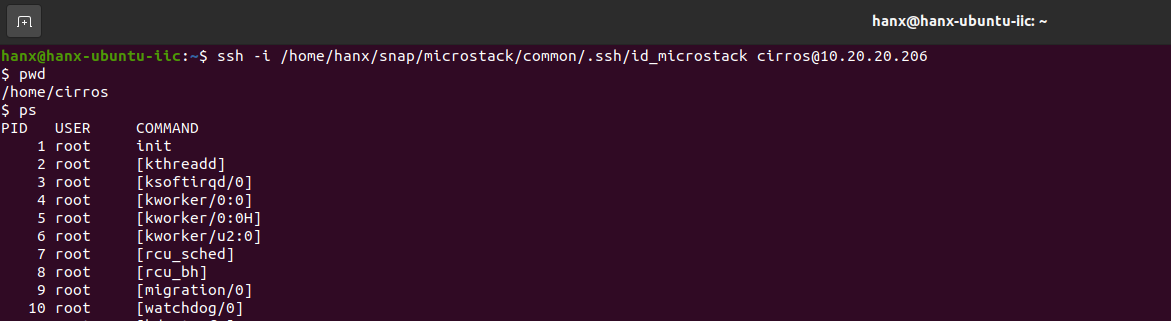
Web连接,如图: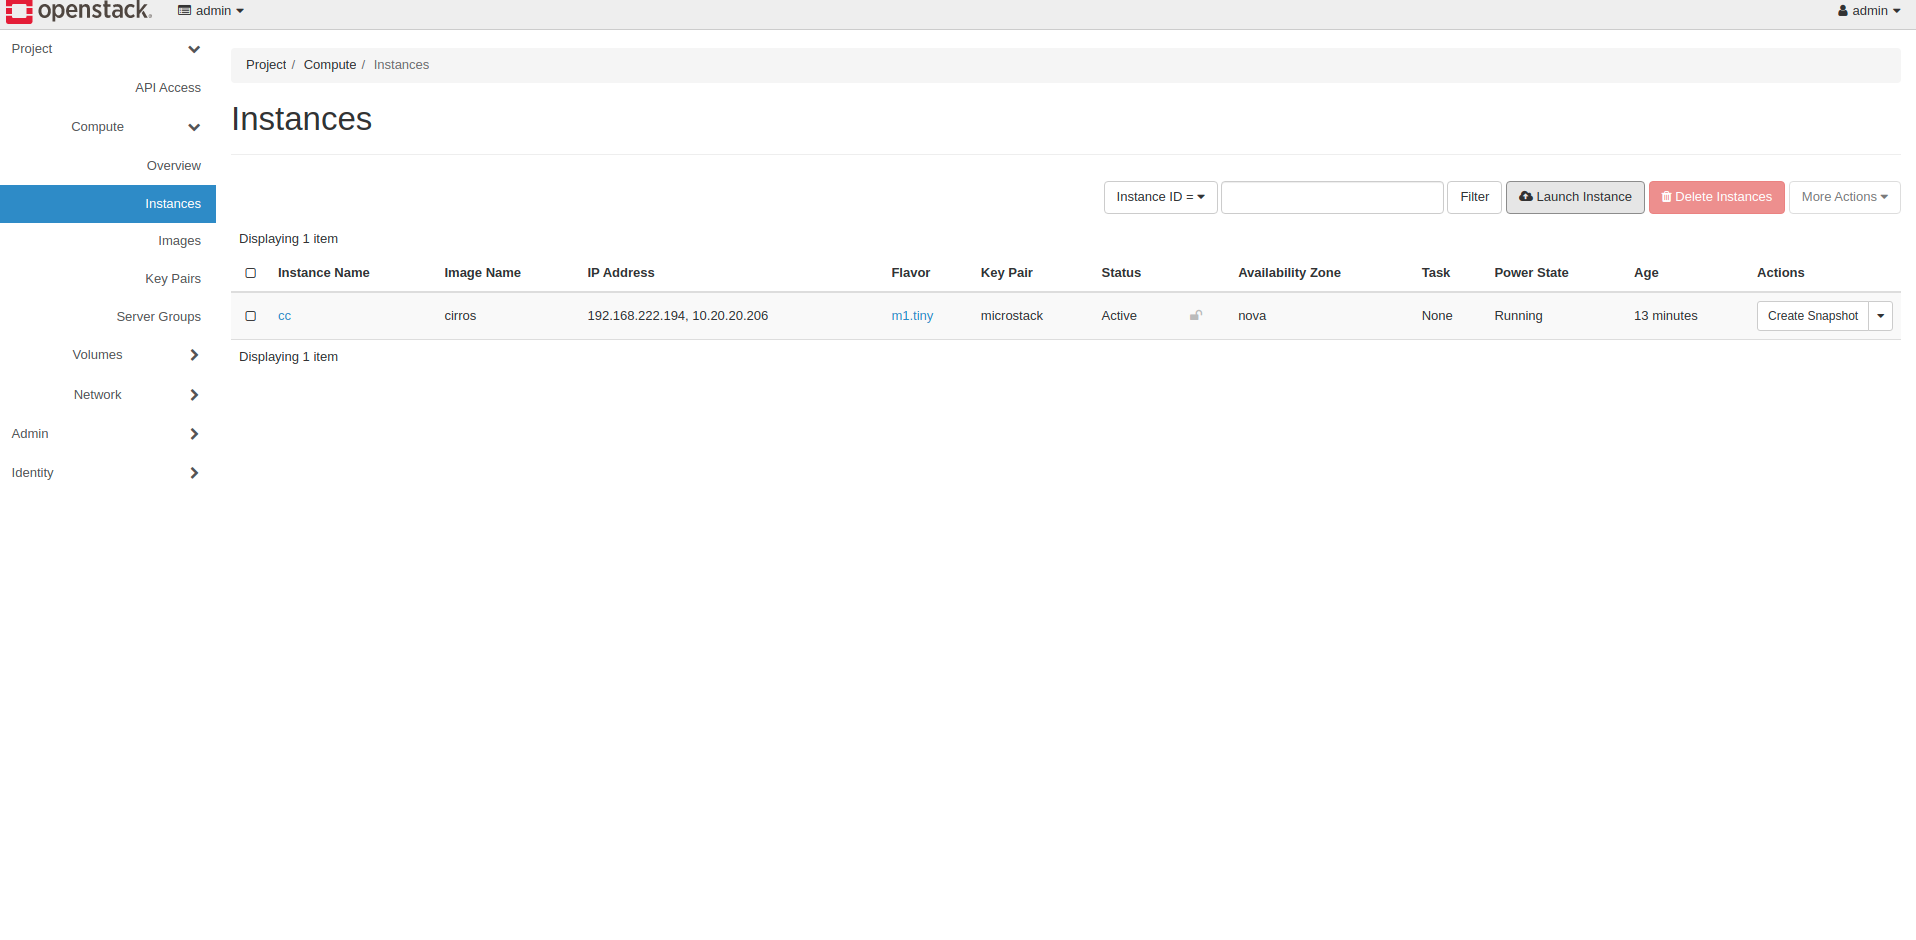
本博客所有文章除特别声明外,均采用 CC BY-SA 4.0 协议 ,转载请注明出处!